Programmable light up studs!
Updated 12/25/2024
Electronic earrings present a lot of mechanical challenges due to their size. I like making
interesting jewelry and also love building small-tiny-miniscule electronics, so I took on
the challenge!
I feel the main difficulty in making electronic stud earrings is passing electrical signals though
a single ear-hole. If the battery is placed behind the earlobe, there's really only room for one cable
to run to a circuit on the front (unless you have your 2nds). One of the only consumer light-up
earrings solves this by using a tiny co-ax cable and a somewhat clever coin battery pack. I yoinked this
precision-manufactured cable and battery pack to power my own earring designs.
To the left is a video of one of my first designs, a simple 4-led blinker powered by an DIP ATtiny85!
The SMD LEDs and current limiting resistors are all soldered onto a tiny piece of perfboard which is
connected to the chip and the earring post.
Here I am wearing the earring! It's a pretty subtle effect but I think it's nice.
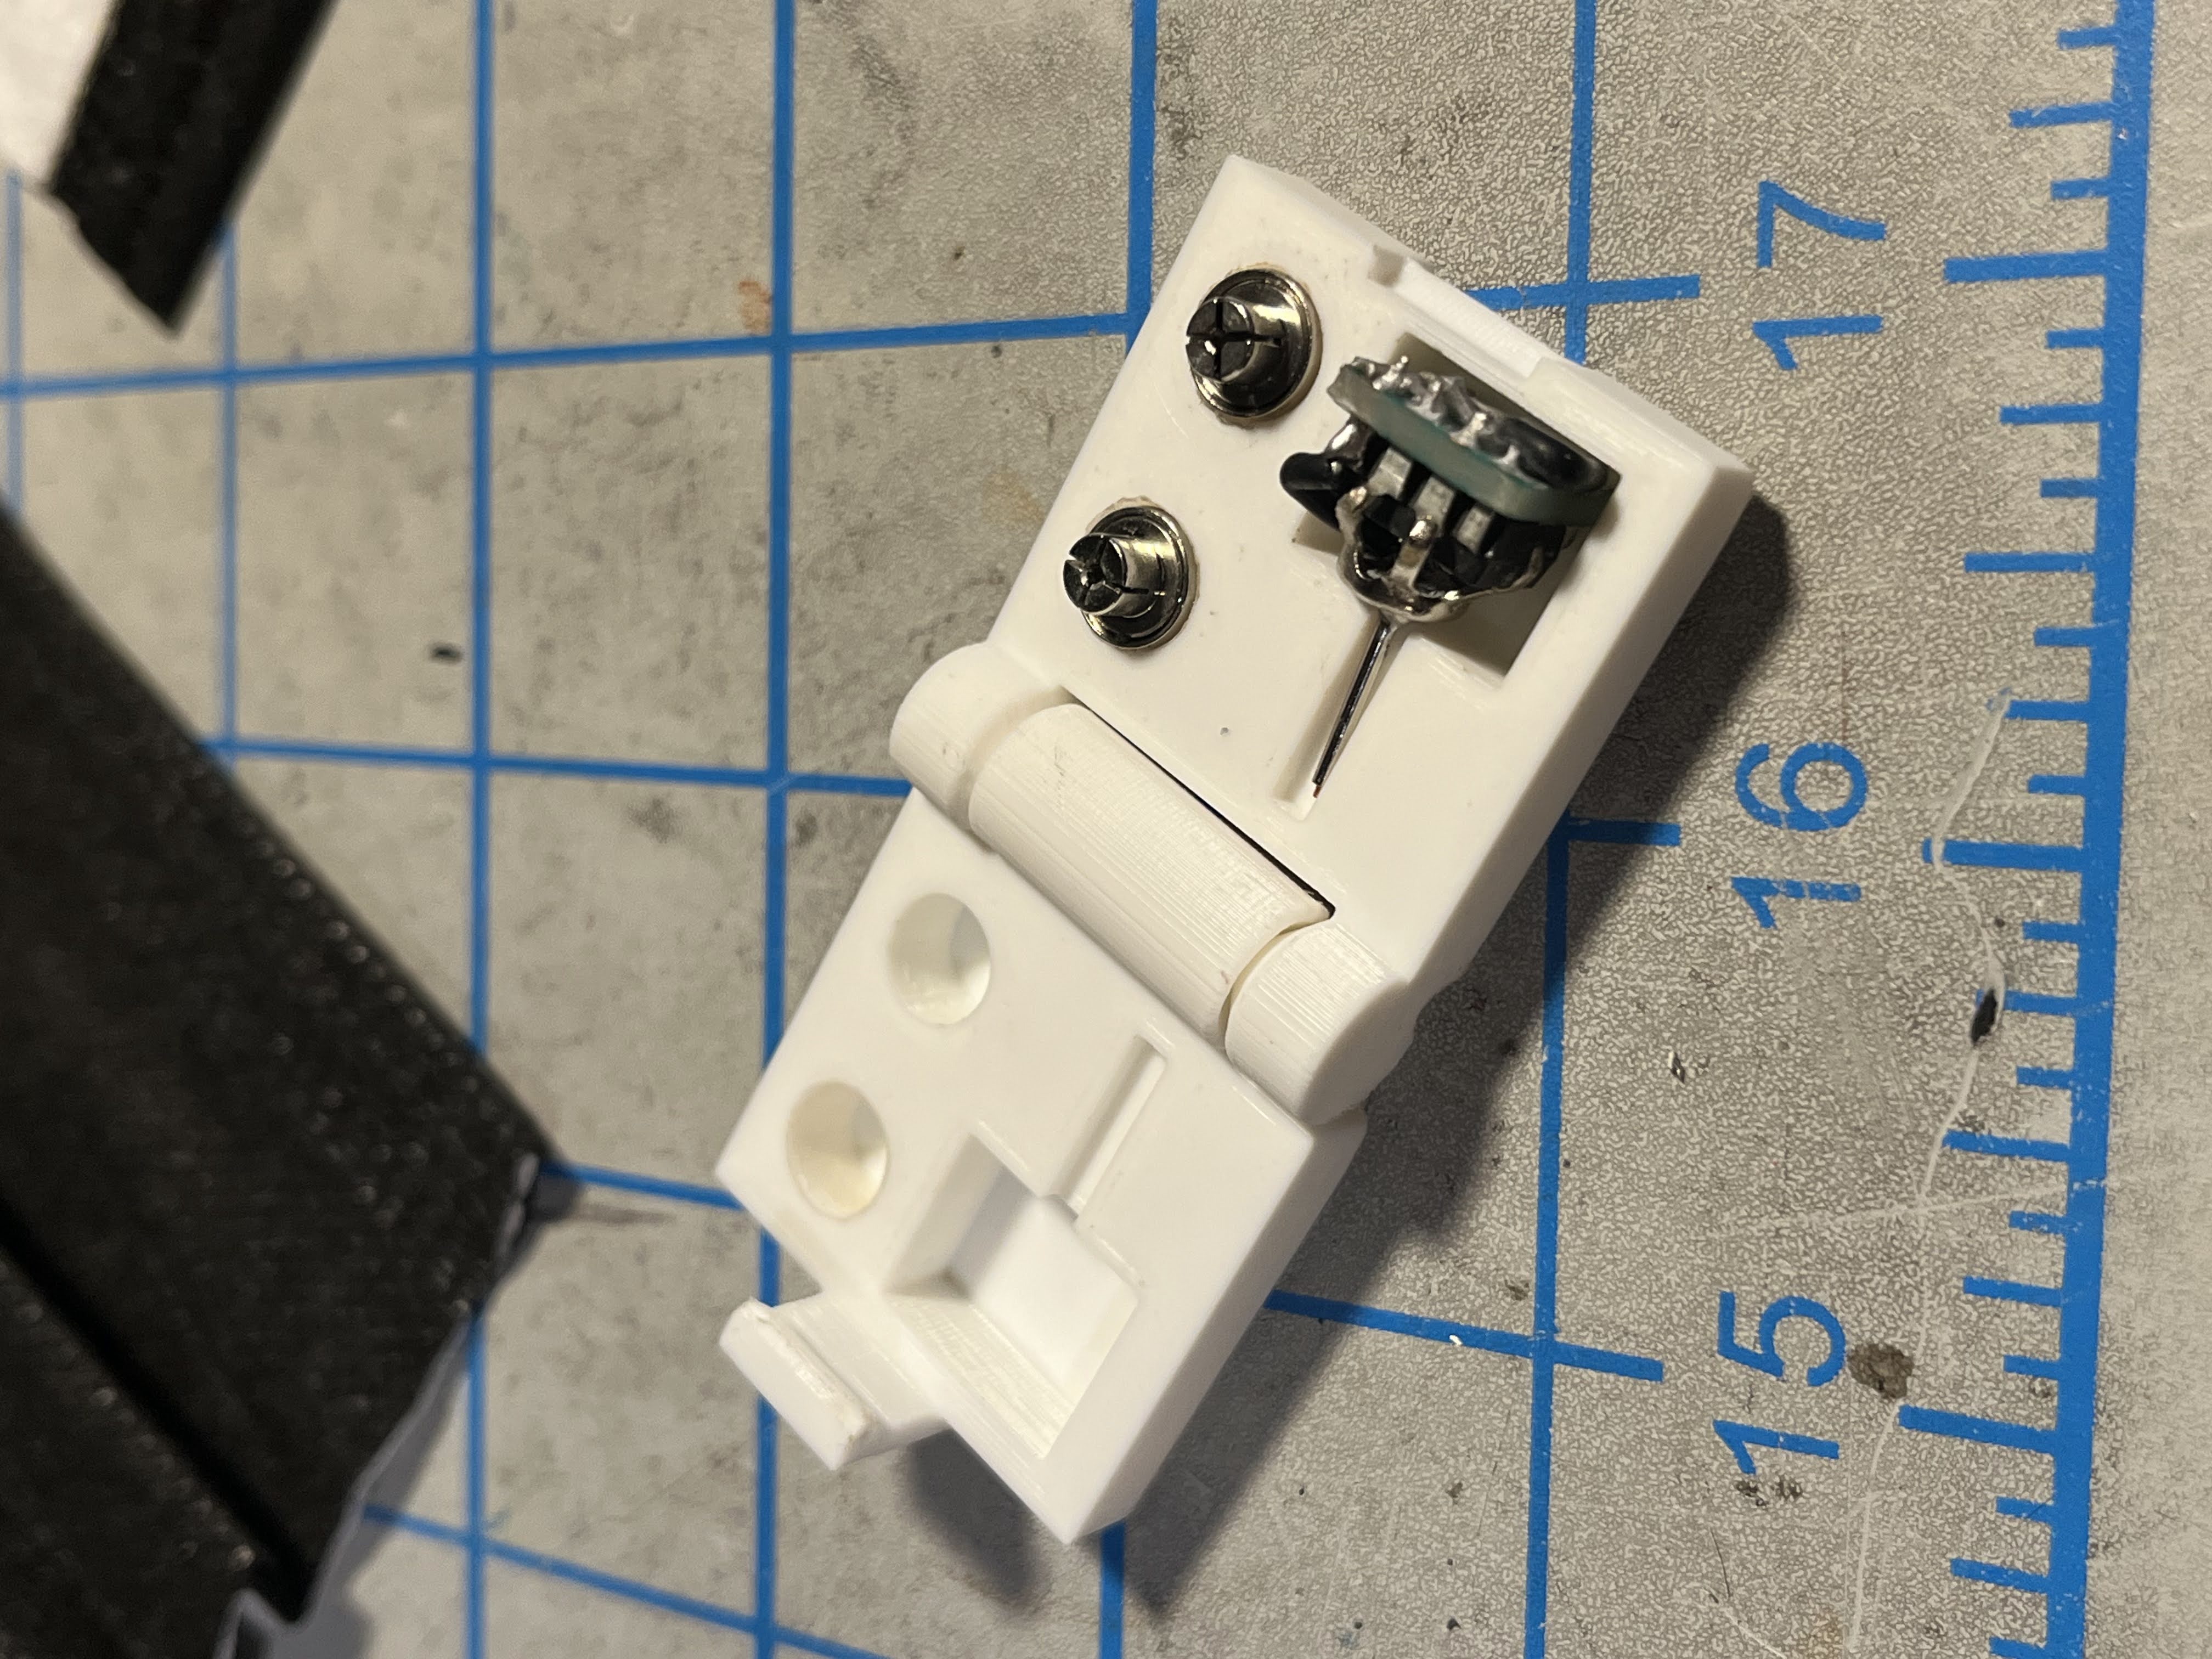
I 3D printed this cute earring box for it since it's relatively fragile. It even comes with spare battery compartments!
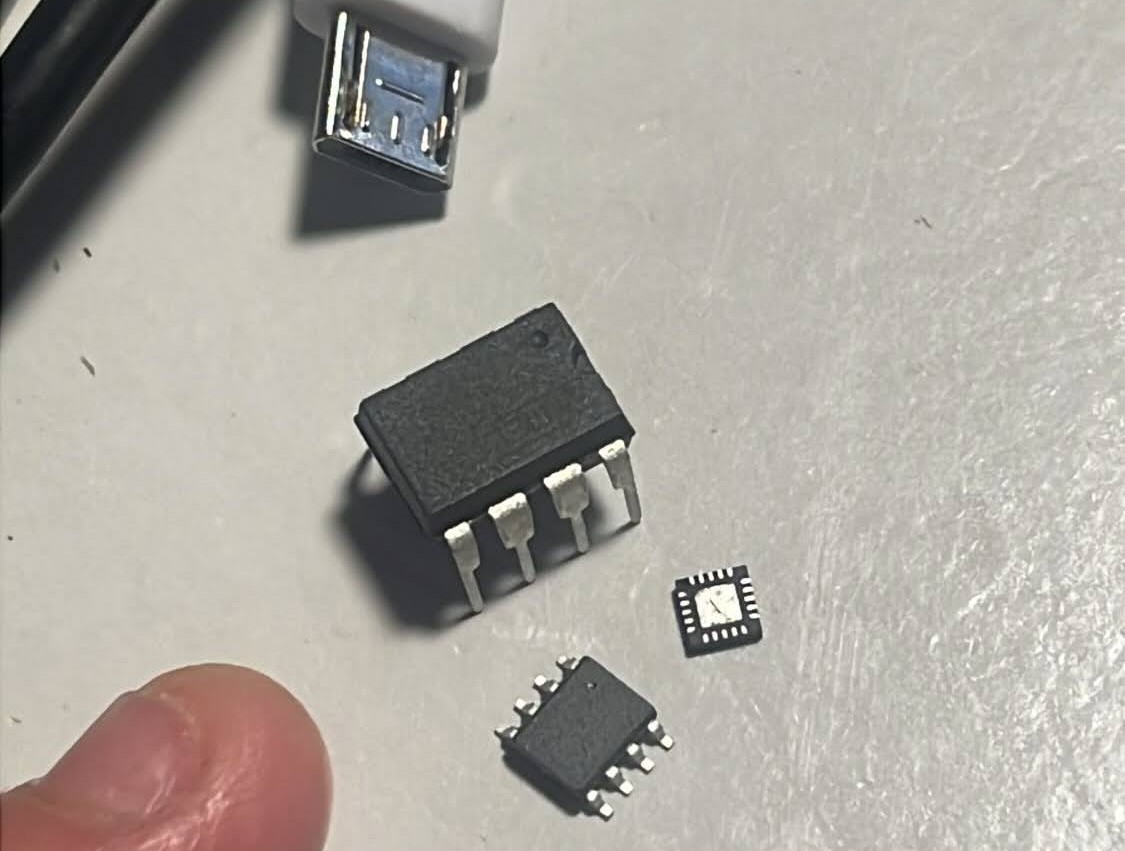
My first earring here was a little bulky for my liking, most of the size is from using the fairly large DIP-8 package of the ATtiny. In the future, I'll be switching this out for smaller SMD packages or even the tiny tiny QFN package (as seen above) if I make a custom PCB for the earring. All ICs pictured above are ATtinys of various sizes and processors.
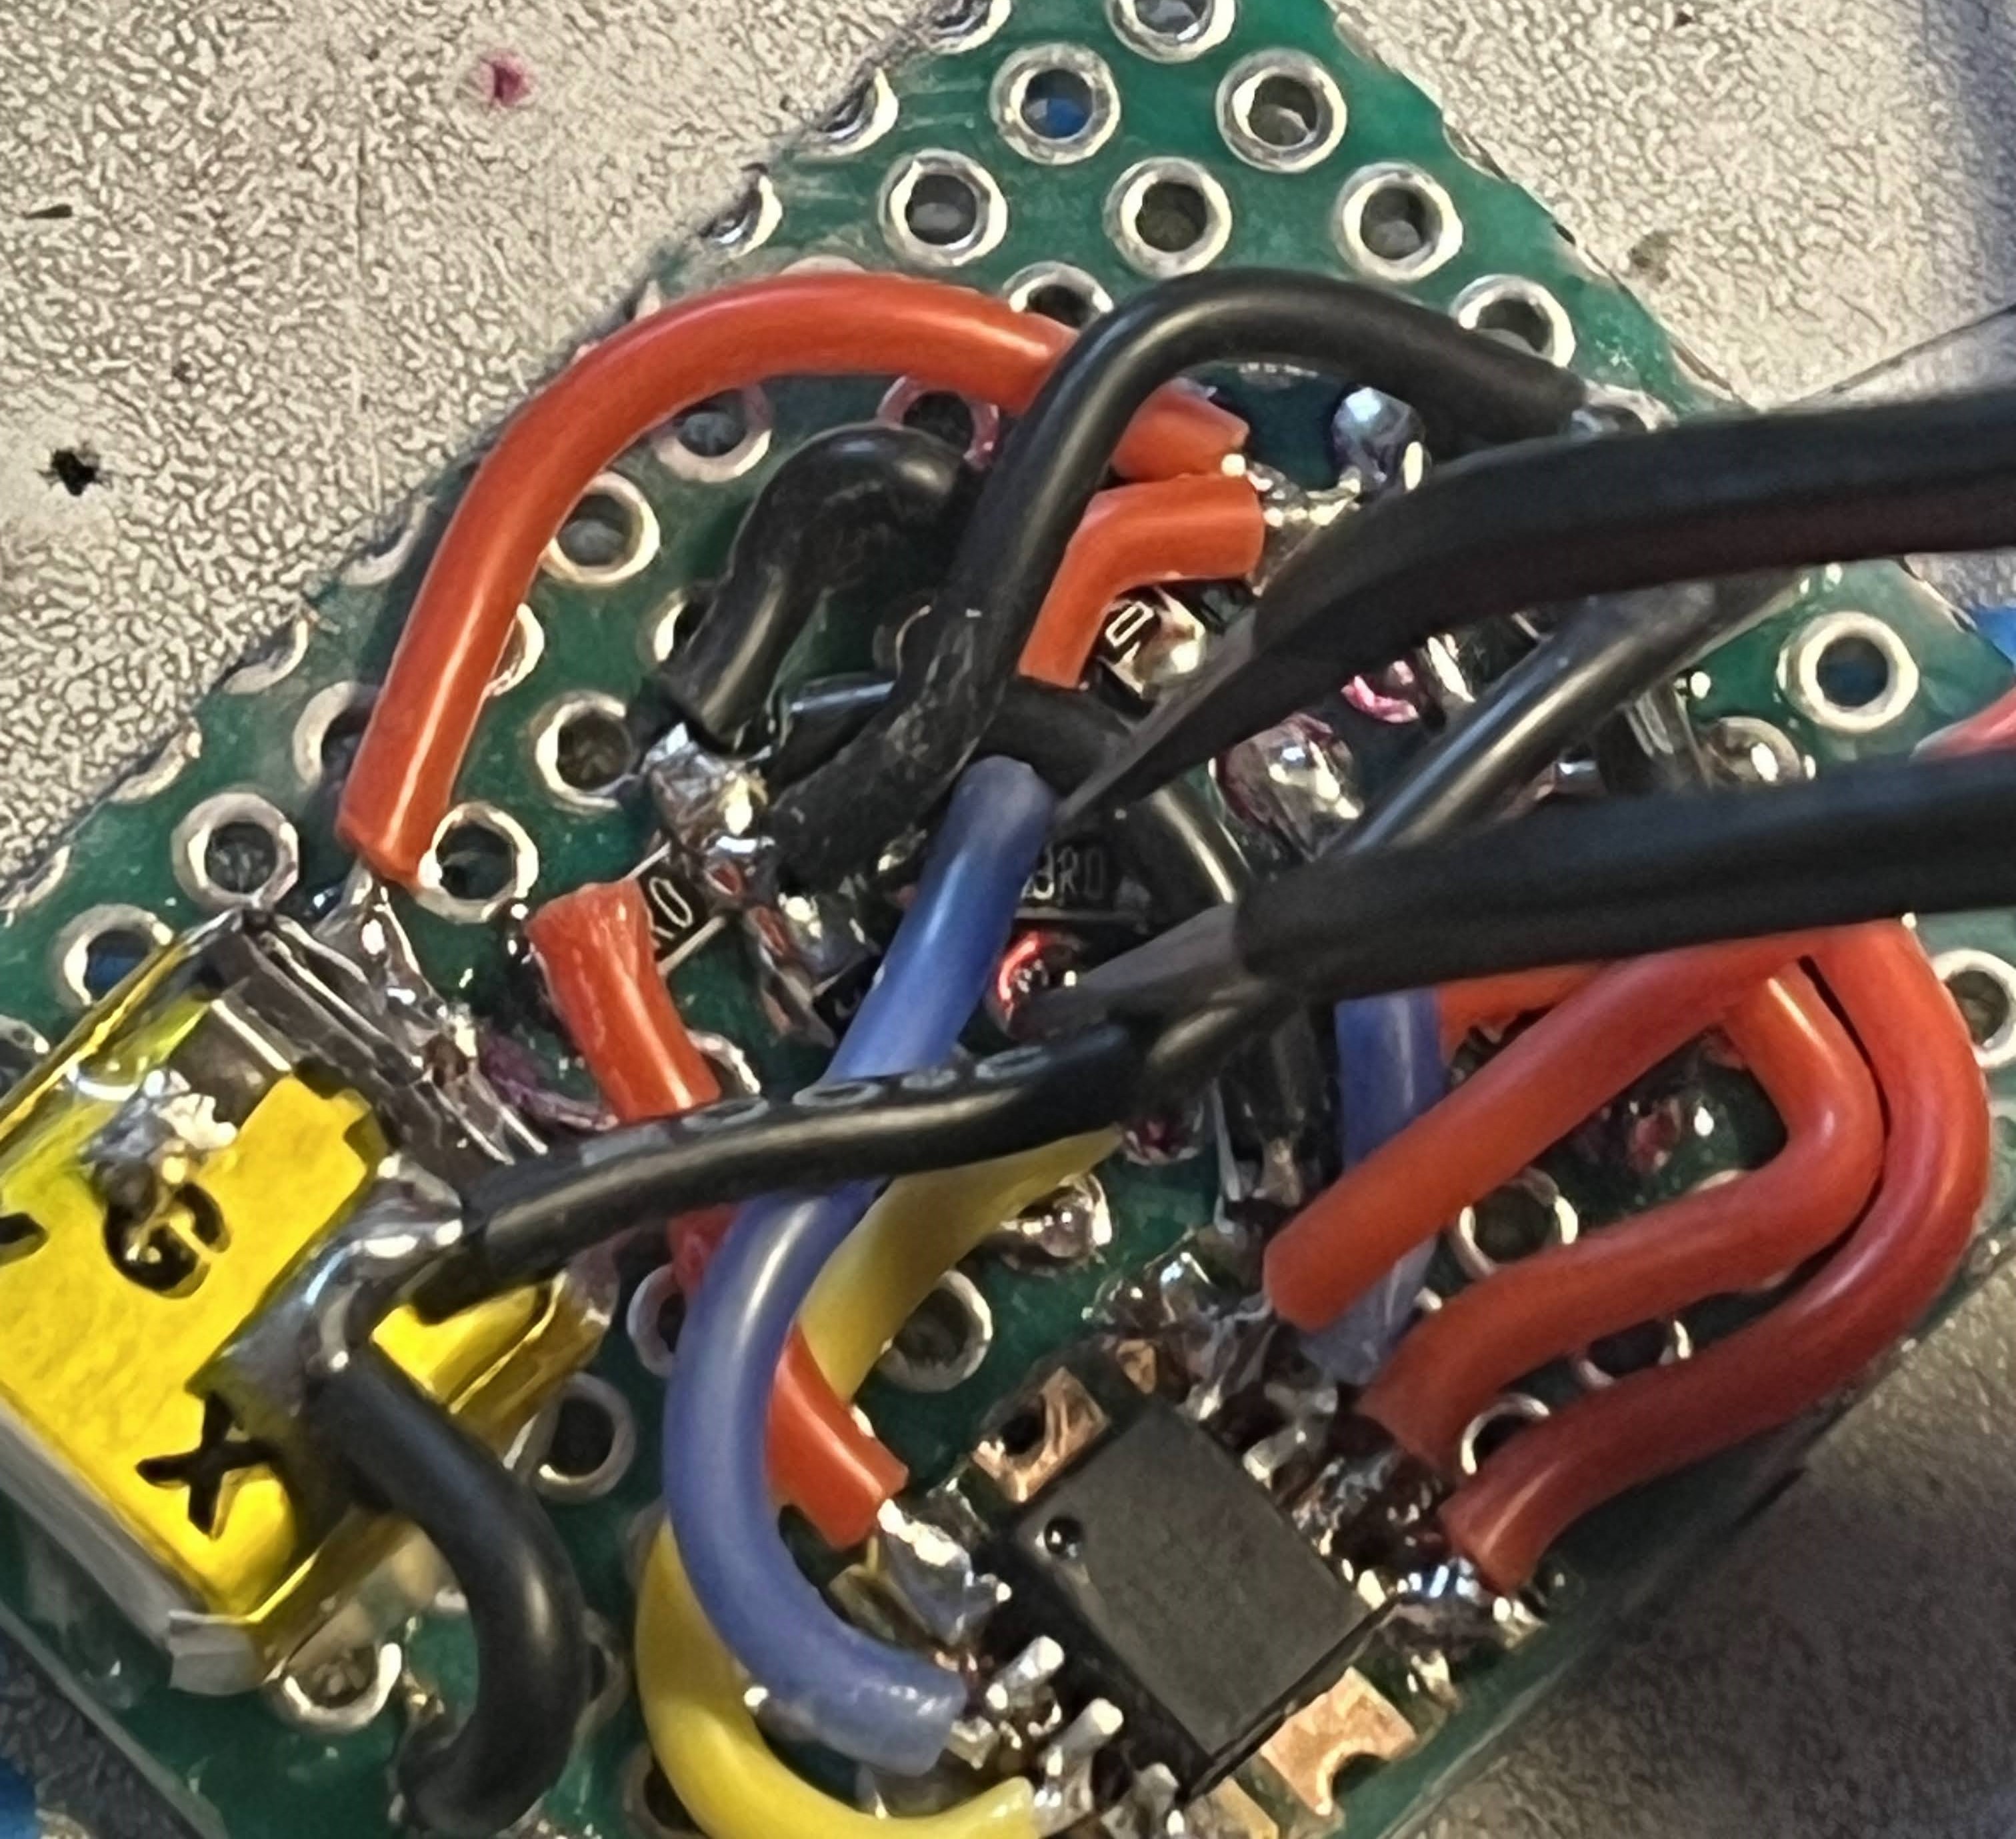
Here's the back of a dangly earring I was making with an SMD ATtiny and a tiny rechargable LIPO battery. The wiring is tight!! I guess people make PCBs for a reason.
I actually have created two more earrings, one dangly, and one more stud which I need to add onto this page, somehow I don't have any pictures of them right now...